

Cabrinha Kite and Wing Replacement Valve Installation | Super Easy Fix!
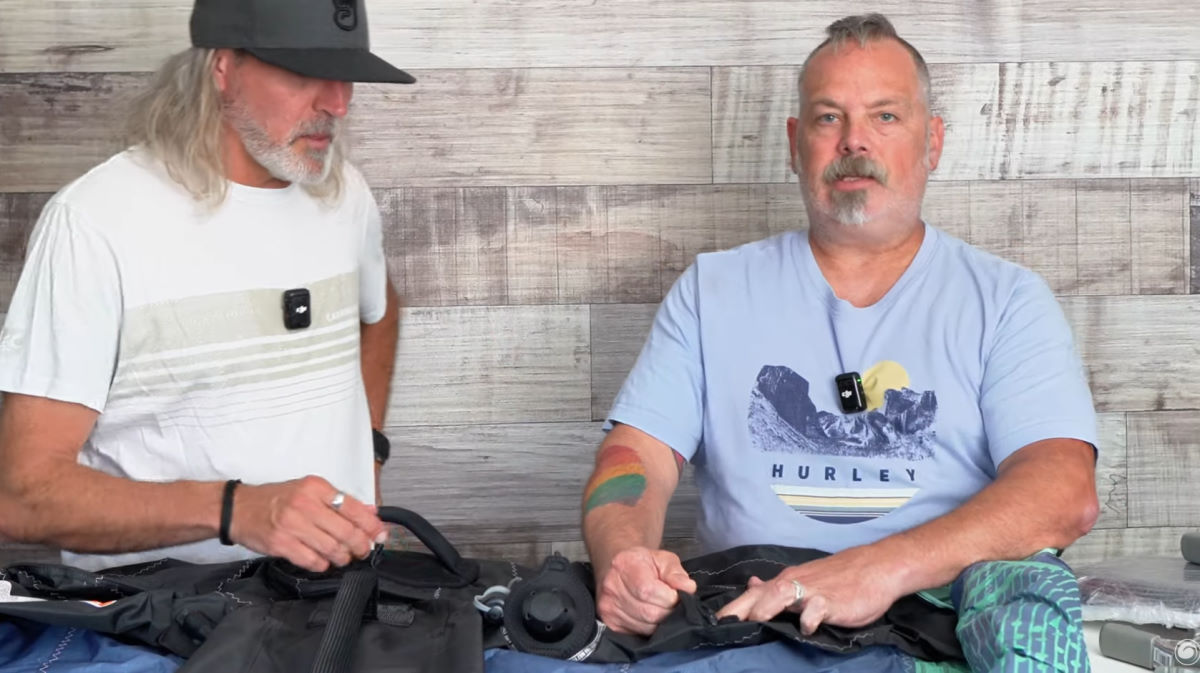
Jimmy and Aaron from MACkite are here with a guide on how to replace a valve on a Cabrinha Wing or kite. It's not a difficult process so long as you know the steps and how to do them correctly.
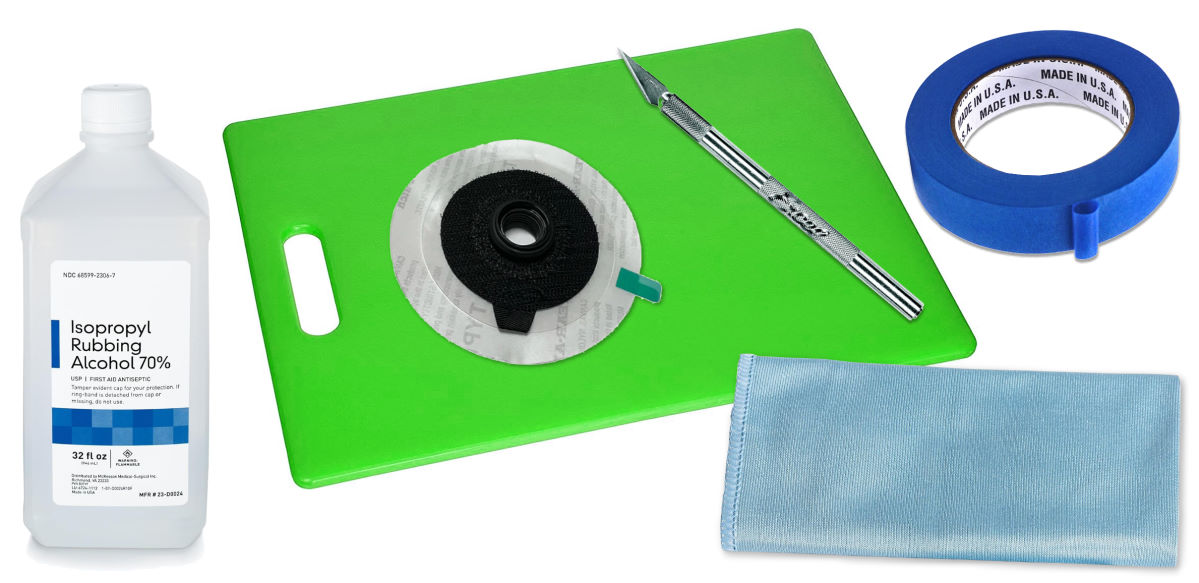
What You'll Need
1. A cutting board or a piece of stiff corrugated cardboard about 6x8 in.
2. Some painter's masking tape or duct tape, or clamps with soft jaws
3. A sharp X-acto or utility knife
4. Rubbing (isopropyl) alcohol and a clean, soft cloth
5. The replacement valve
What To Do
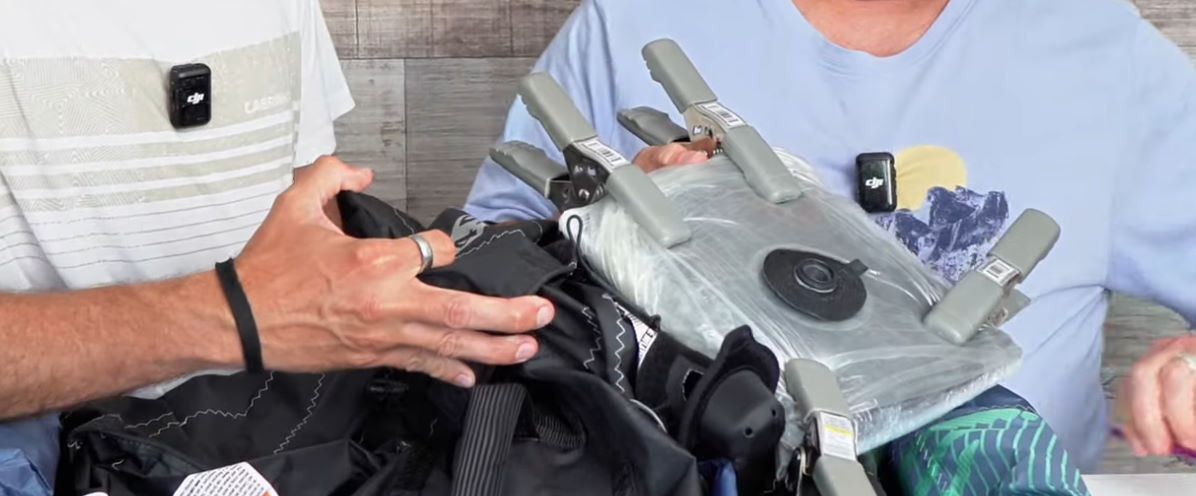
1. Unroll your kite or wing so you can see the valve. Nearby will be an access zipper under a Velcro tab. Open that up.
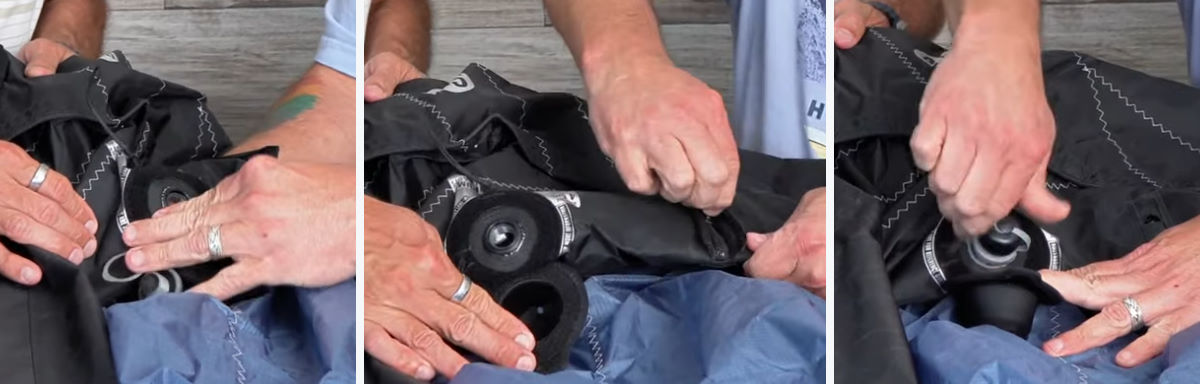
2. The valve is held in place with Velcro on the inside of the leading edge. Get your hand inside the hole and slide it up to where the valve is. The Velcro is a ring around the valve, much like you can see on the outside, so work the Velcro loose until you can push the valve down inside the leading edge.
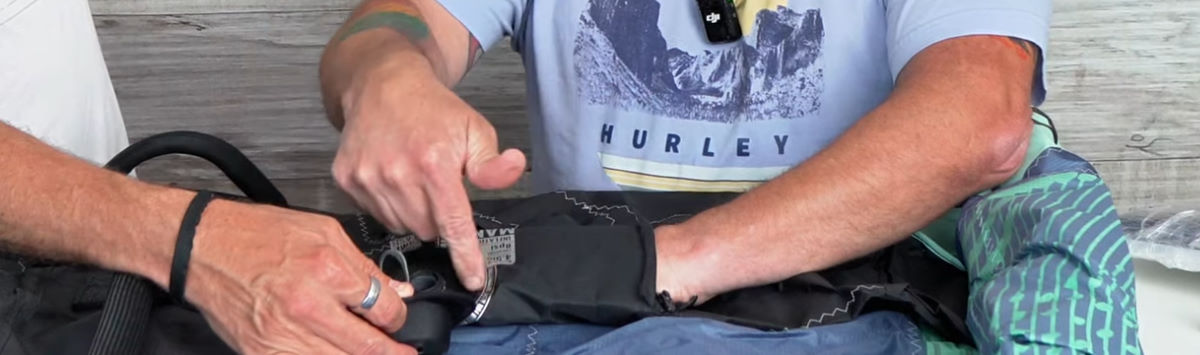
3. Wrap your fingers around the cylinder of the valve to keep the Velcro from reattaching and pull it and the bladder out through the access hole until you have enough to insert your cutting board or cardboard into the loop that you're forming. Don't worry too much about tearing the bladder. It's quite strong and resilient and you're not likely to harm it.
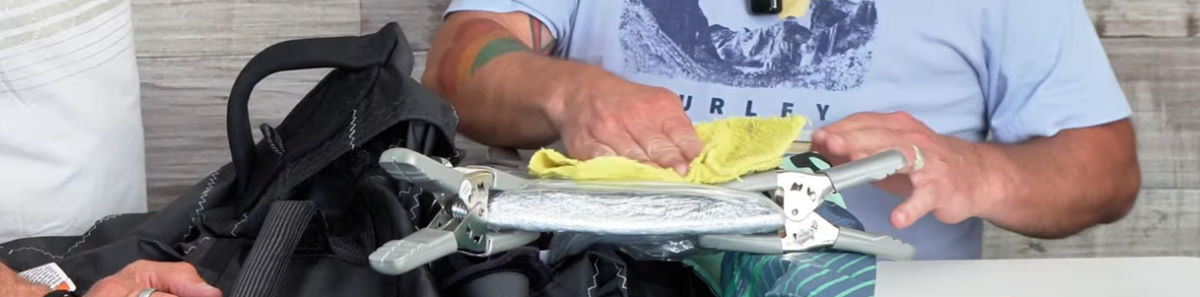
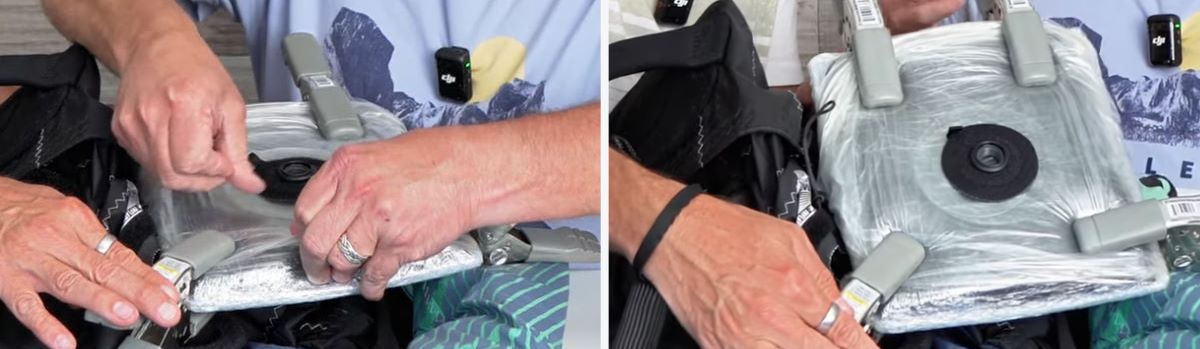
4. Spread the bladder out on your board until it's nice and flat. Clamp or tape it into place so it doesn't move on you while you're working.
5. Pull up on the rim of the valve and observe where it's stuck to the bladder. Use your sharp blade to cut the bladder right where it meets the valve. Be sure you're lifting up on the valve enough that you cut through only that layer of bladder. Although the bladder material is thin, it's quite tough, so use a brand new blade if you can so you get a nice, clean cut. Take your time with this step.
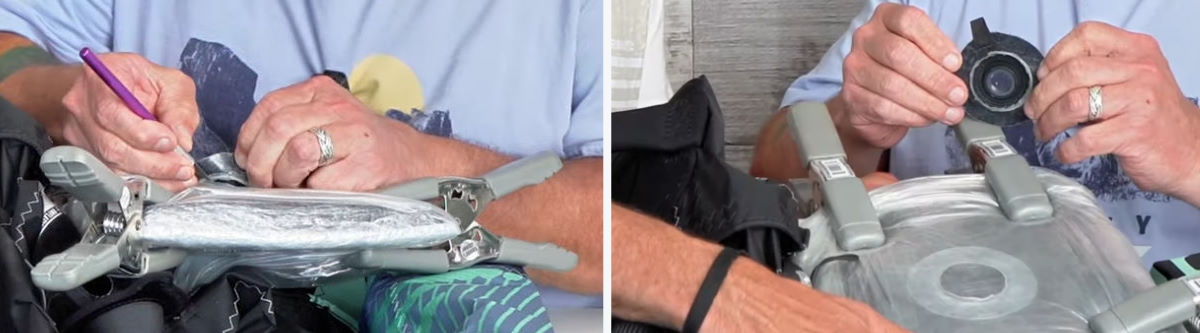
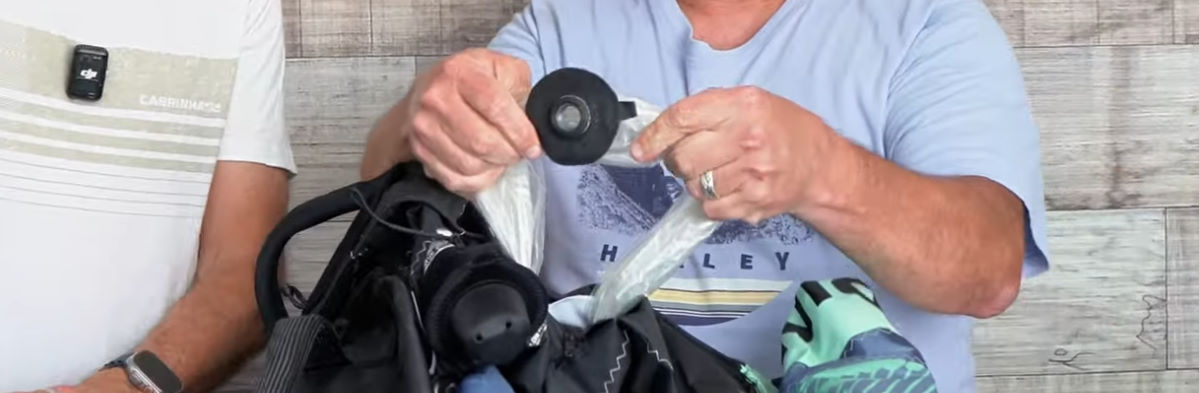
6. Open up your new valve and set it aside so it's ready to go. Clean the bladder with the rubbing alcohol and a soft cloth so you'll get a secure seal when you apply the new valve. Let it dry, then clean it again to make sure there isn't any residue or dust.
7. Peel the backing off the sticky rim of the new valve. Handle it by the valve, taking care not to touch the sticky part.
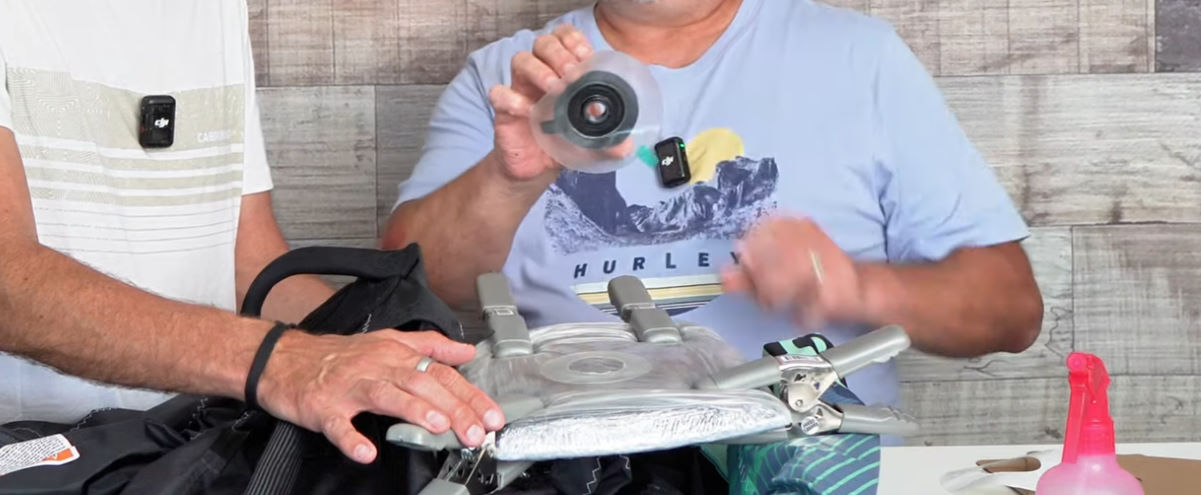
8. Stretch the bladder so it's as flat as possible where you'll be applying the new valve. Center the valve over the hole in the bladder and carefully set it in place.
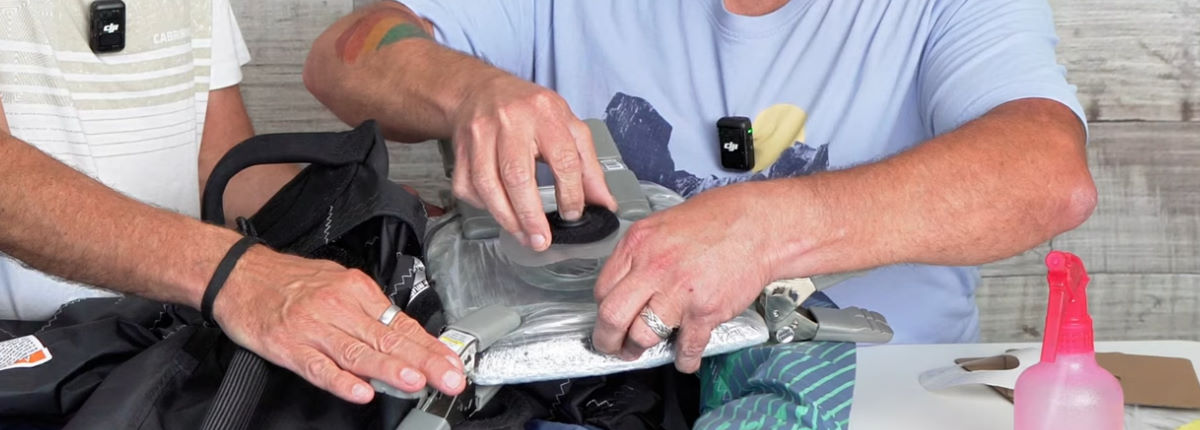
9. Press the sticky part down, smoothing it as you go. You can do this by sliding your finger or thumb from the valve to the outside of the sticky ring, repeating this motion over and over as you work your way around.
10. The new valve is now on. Remove the clamps or tape and the board, then replace the valve and bladder into the leading edge. The Velcro on the valve will attach to the Velcro around its hole in the leading edge. Close the access hole, replace the valve covers, and you're ready to head to the beach!
MACkite Subscription Links:
YouTube | Instagram | Spotify Oddcasts
Contact MACkite Below:
800.622.4655 | Kiteboarder@MACkite.com | LIVE Chat Messenger

Recent Posts
-

2024 Reedin SuperNatural Wing vs. the HyperNatural Aluula Wing
Jeff and Ryan have had sessions on both the Reedin SuperNatural and its Aluula brother, th …22nd Aug 2024 -

Cabrinha Kite and Wing Replacement Valve Installation | Super Easy Fix!
Jimmy and Aaron from MACkite are here with a guide on how to replace a valve on a Cabrinh …19th Aug 2024 -

Big Air Kiteboard Review: Carved Imperator 7 / Lieuwe Falcon / Duotone Jaime SLS
Big air kiteboards deserve a big review, and no one is more up to the task than guest vlogge …16th Aug 2024